Embroidery is a delightful craft that allows you to create intricate and beautiful patterns on fabric. To start embroidering, it is important to find the center of the fabric and make sure that your design is positioned perfectly so that after embroidering you have extra fabric to frame the frame.
Before you start embroidering a particular work, you need to find the center of a uniform fabric or canvas.
In this tutorial we will show you how to determine the center step by step.
How to do it simply:
Step 1: Gather Your Supplies Before you start, gather your supplies: a piece of fabric, your embroidery hoop, embroidery floss, and a needle.
Step 2: Fold the Fabric
Fold your fabric in half horizontally, aligning the two opposite edges. This creates a clear crease line that marks the horizontal center.
Step 3: Fold Again Vertically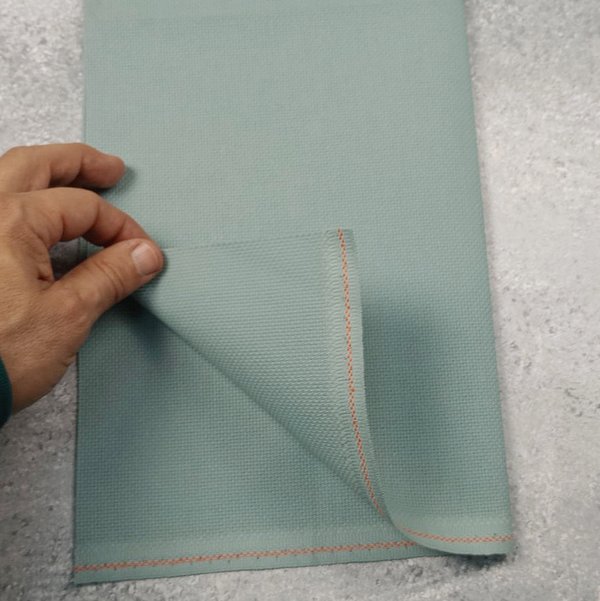
Now, fold the fabric in half vertically, matching the other two opposite edges. This will create a second crease line that marks the vertical center.
Step 4: Find the Intersection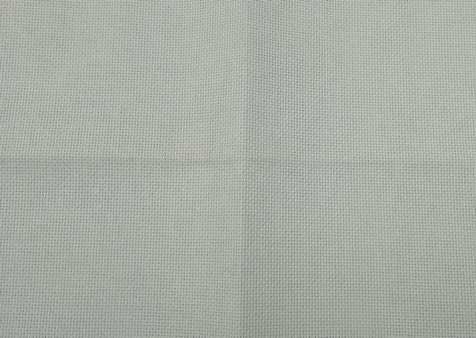
Unfold your fabric. You will now have two intersecting crease lines, forming a cross in the center of your fabric. This intersection is your starting point for your embroidery design.
Step 5: Secure Your Fabric in the Hoop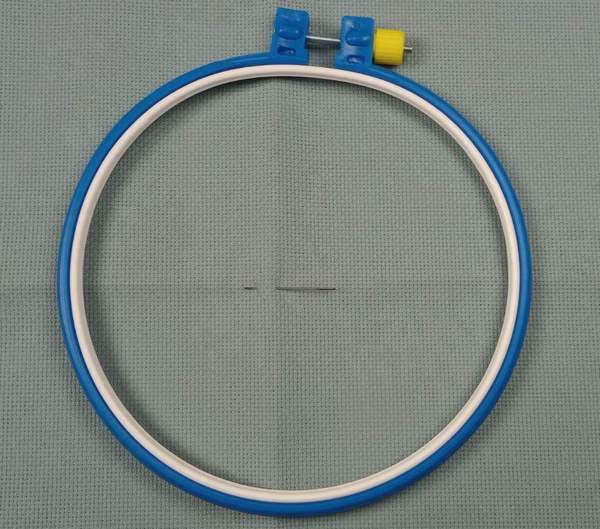
Place your fabric in the embroidery hoop, ensuring that the center intersection aligns with the center of the hoop. Tighten the hoop to secure the fabric in place.
With your fabric's center clearly marked and secured in the hoop, you're ready to begin your embroidery project with confidence. Starting from the center ensures that your design is symmetrical and well-positioned on the fabric. Happy embroidering!
Now that you've found the center, you can unleash your creativity and embroider intricate designs with precision and ease.
Short video

